Build a Bug House with the Kids in 4 easy steps
Build a Bug House with the Kids in 4 easy steps
"This post has been chosen by Twinkl to support their article Twinkl's Top Tips for a Plastic Free July, this website was also included in Twinkl’s Sustainability Campaign”
Creating a home for insects is a fun activity to do in autumn, especially with the kids, and will be very much appreciated by all those sleepy insects getting ready to bed down for the cold months ahead - such a sensible idea.
Step 1 Create your House Frame
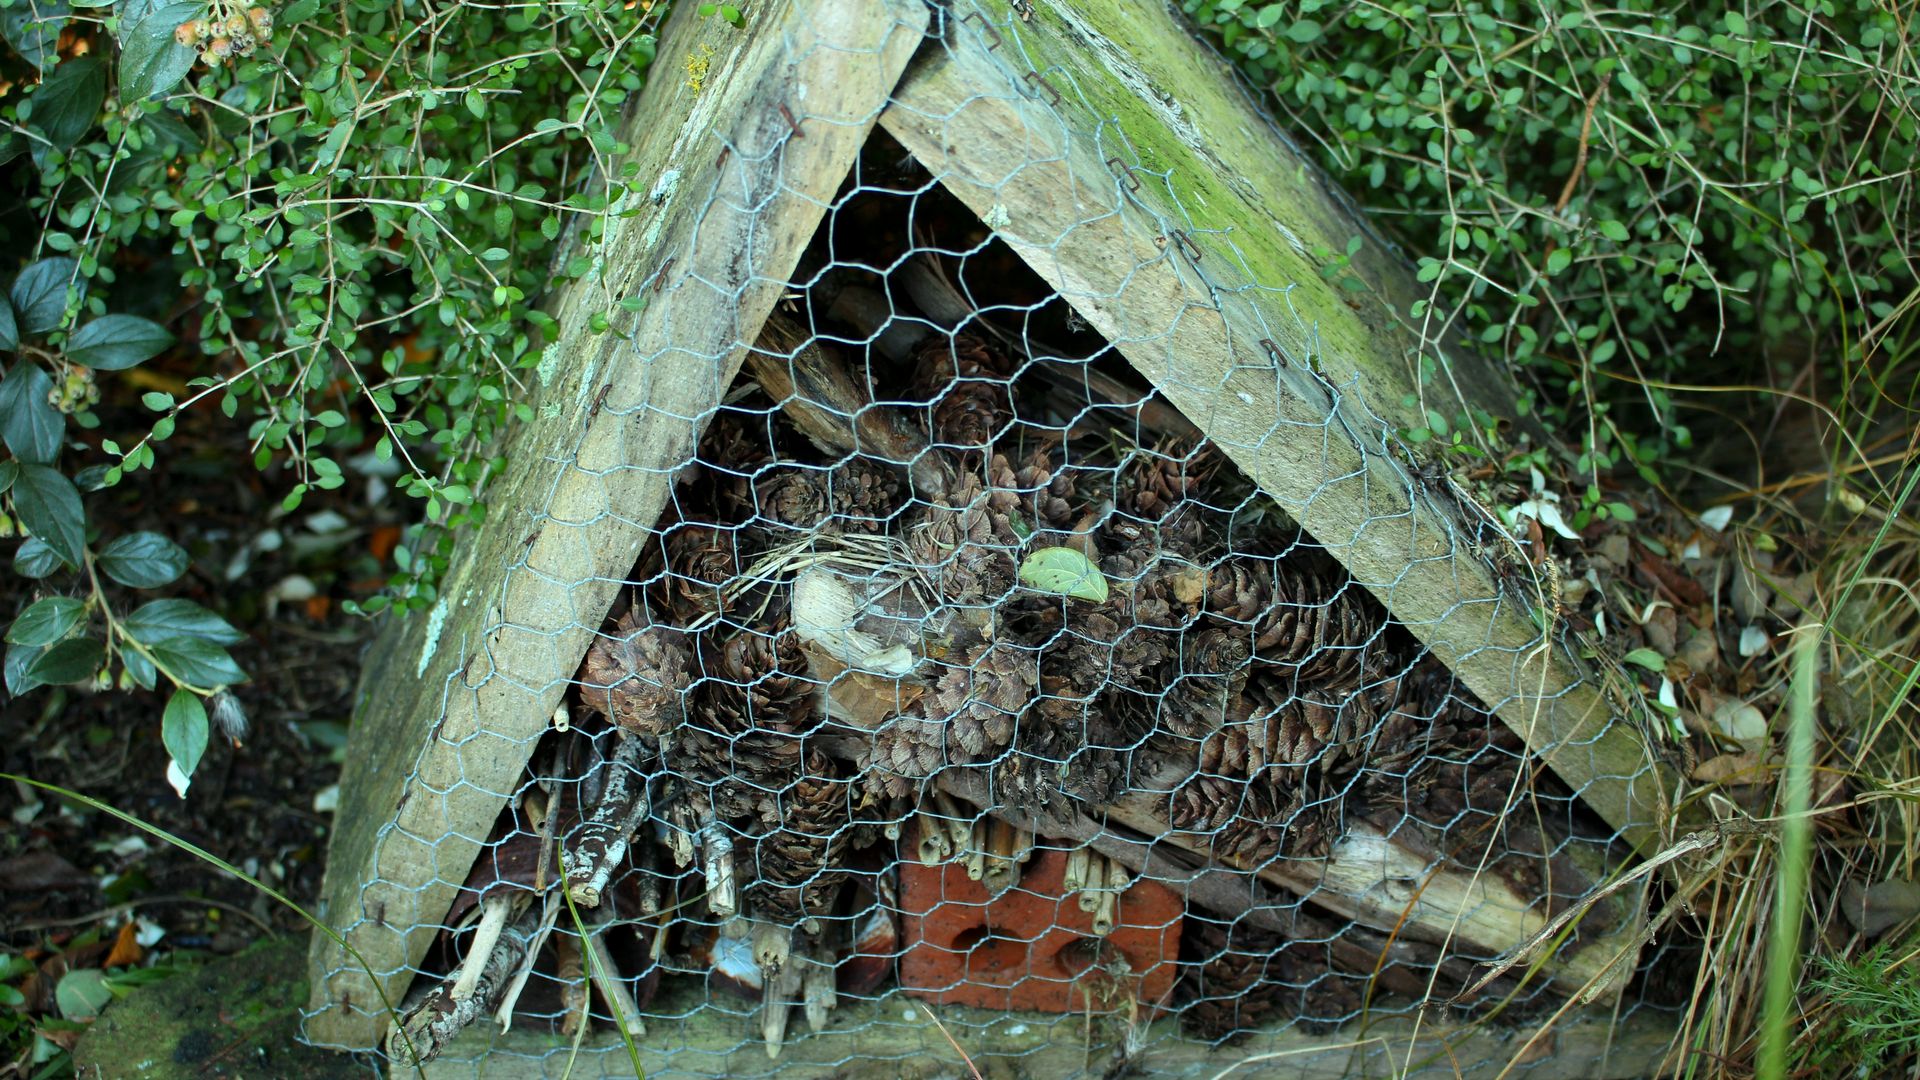
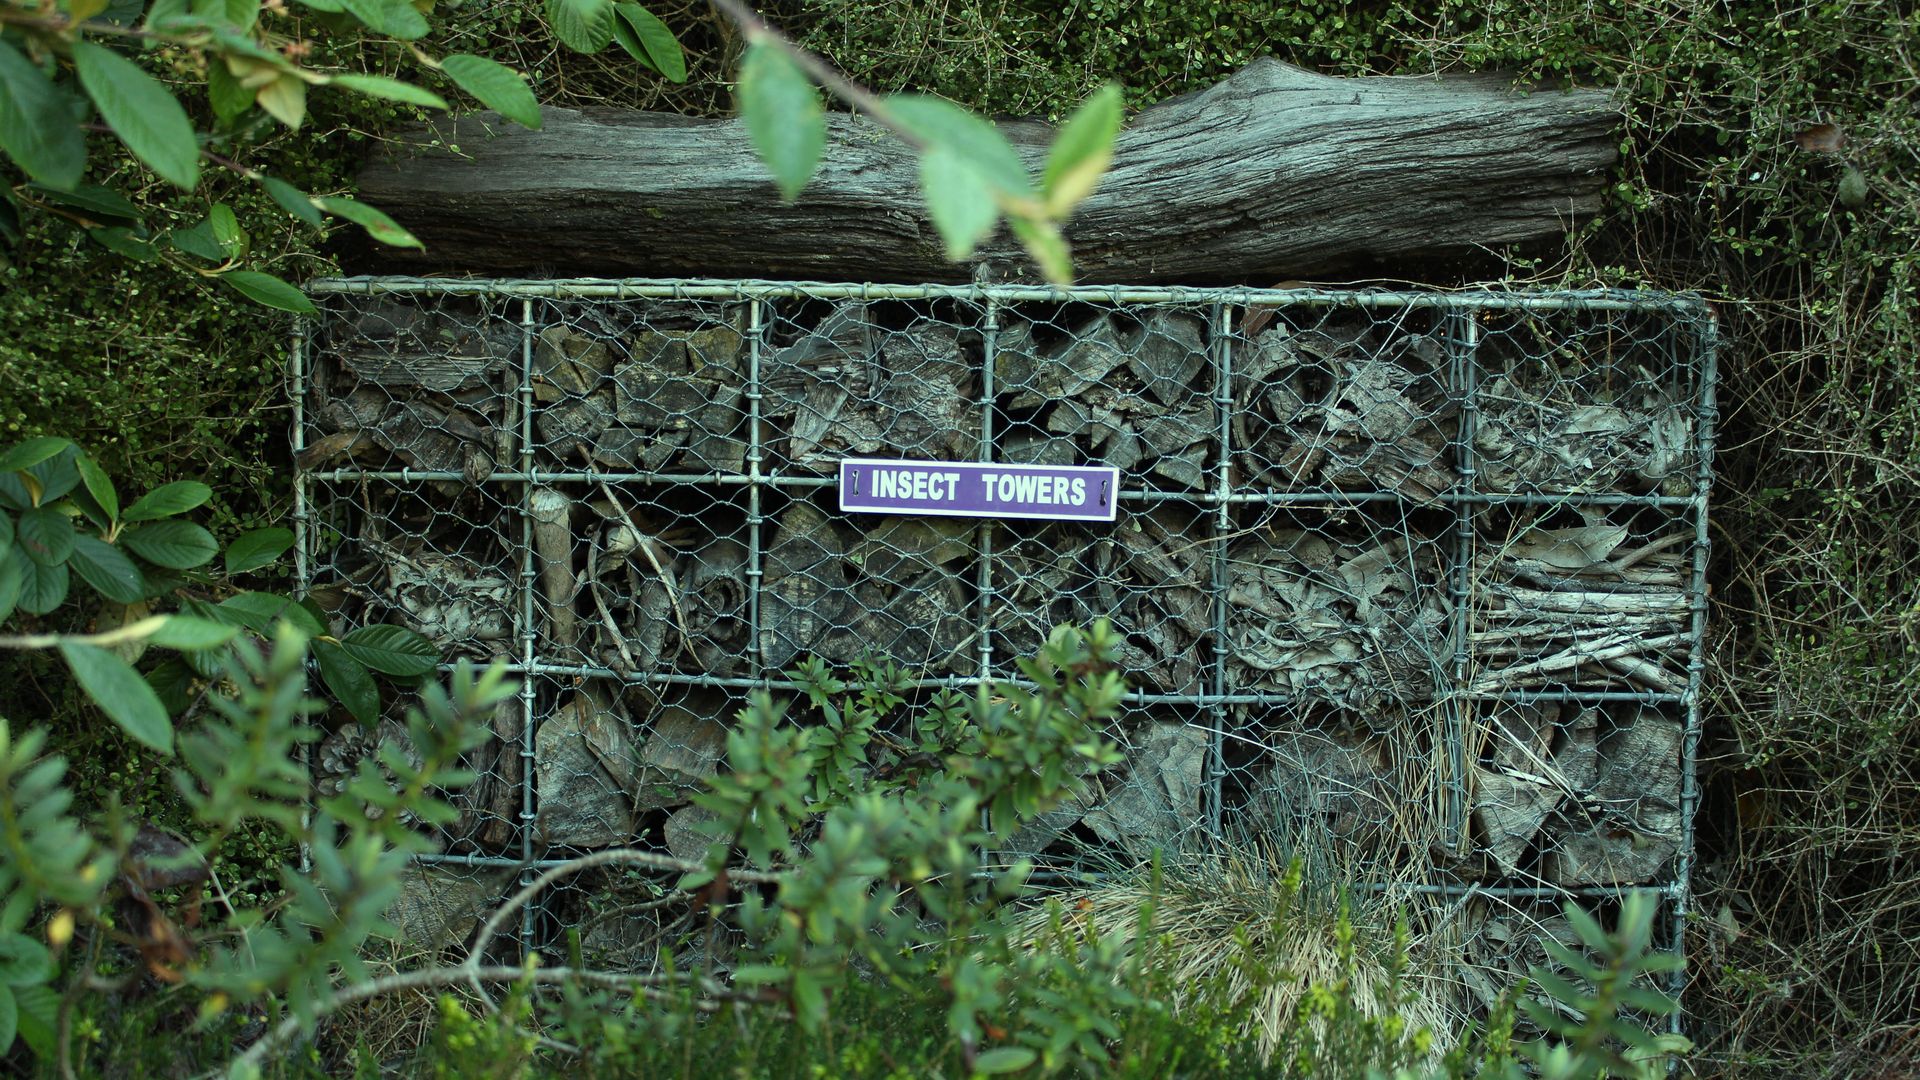
Depending how decorative you want your bug house to look, this can be as simple as an old plant pot or bucket on its side or, if you’re handy with a hammer and nails, you could build a wooden frame. This could be 3-sided like an A-frame, 4-sided or 5-sided (that is, with a roof). It could be a piece of roofing iron up on bricks. Actually, it’s a good idea generally to elevate your structure on bricks as it prevents it being flooded.
The main thing is that the insects can get in and the weather stays out, because who wants to live in a leaky house?
Step 2 Gather your House Contents
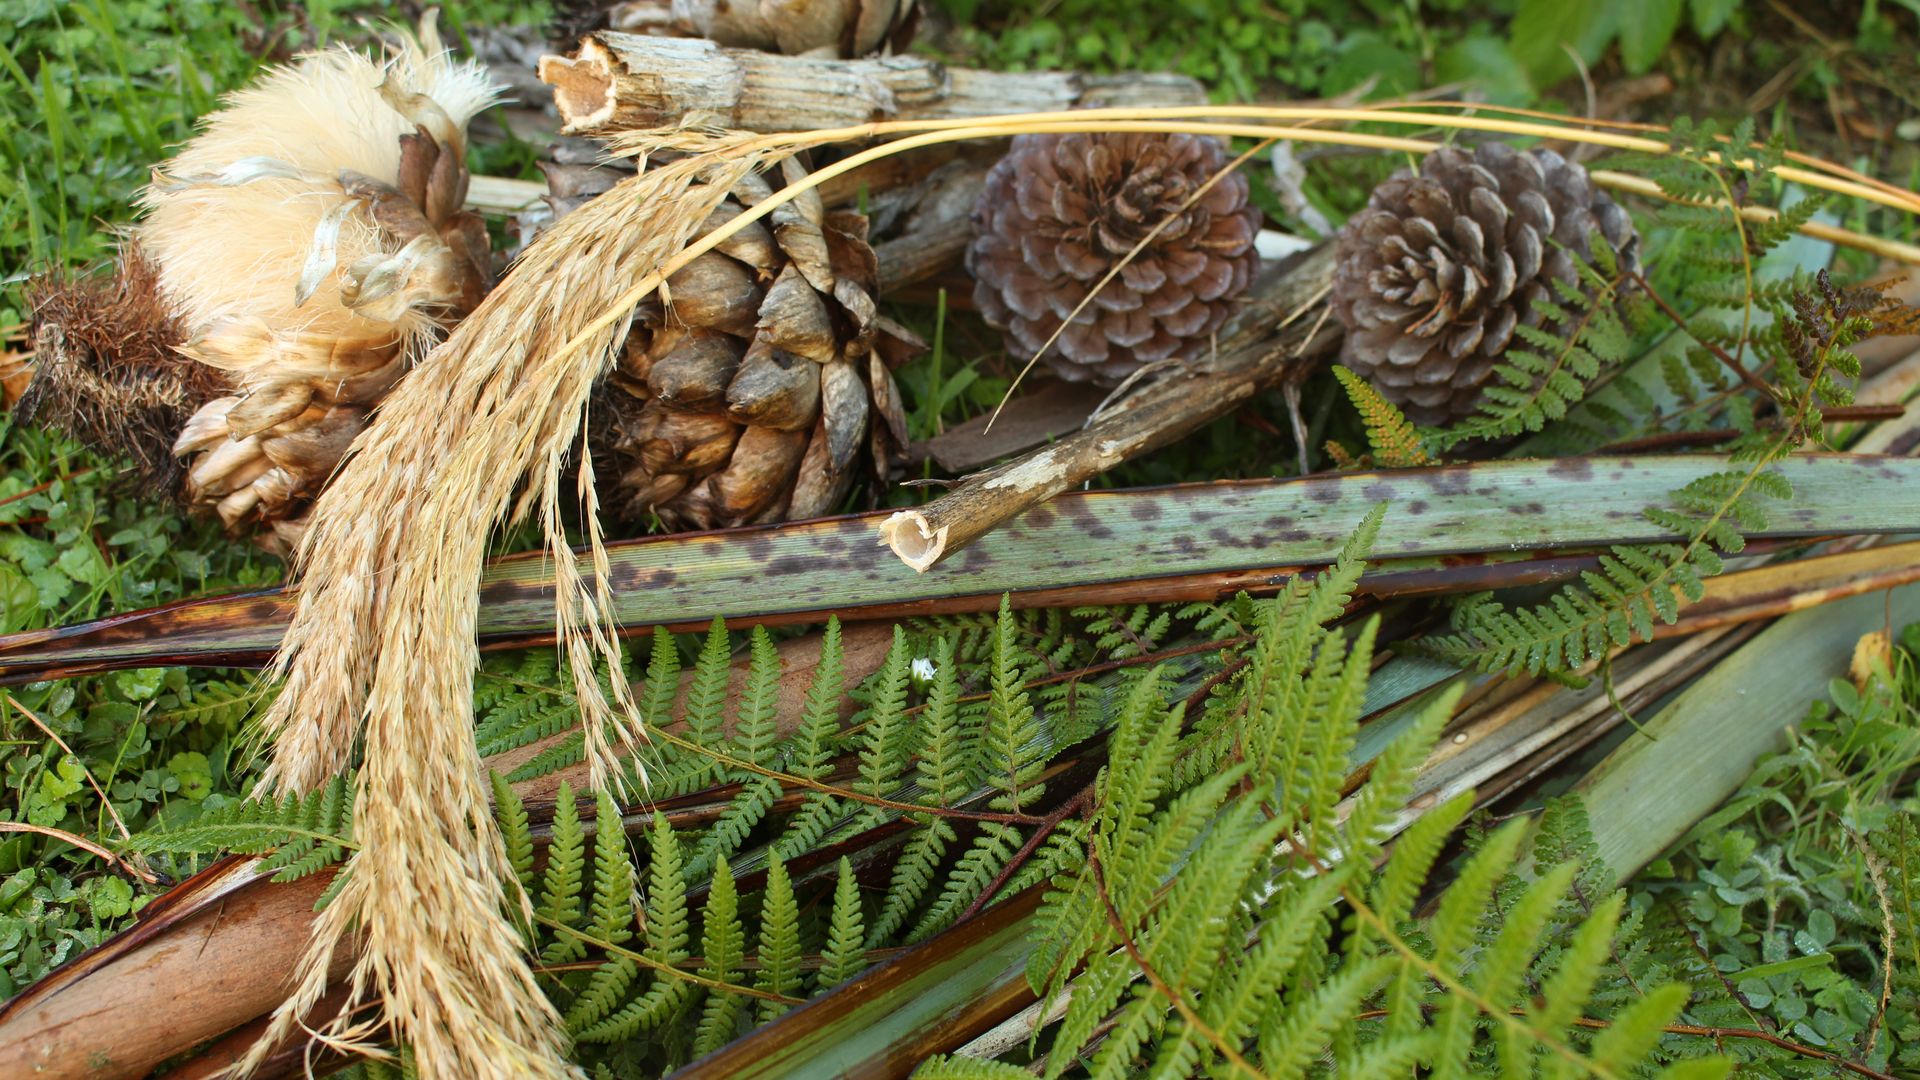
Gathering materials is half the fun. Grab a bucket or bag and go for an adventure in your local park or your own back yard. Autumn is a wonderful time to be out on a nature walk (although there’s never a bad time) especially amongst deciduous trees, but when you’re on a mission it’s even better. So what would an insect be looking for in interior decorating? High on the wish list are things with little nooks and crannies to hide and feel safe in: pinecones, hollow stems, dried fern fronds, curled up gum bark, twigs, both chunky and fine. Bits of broken bricks or rough-surfaced rocks are good. And back home, egg cartons are ideal, too.
Step 3 Filling your House
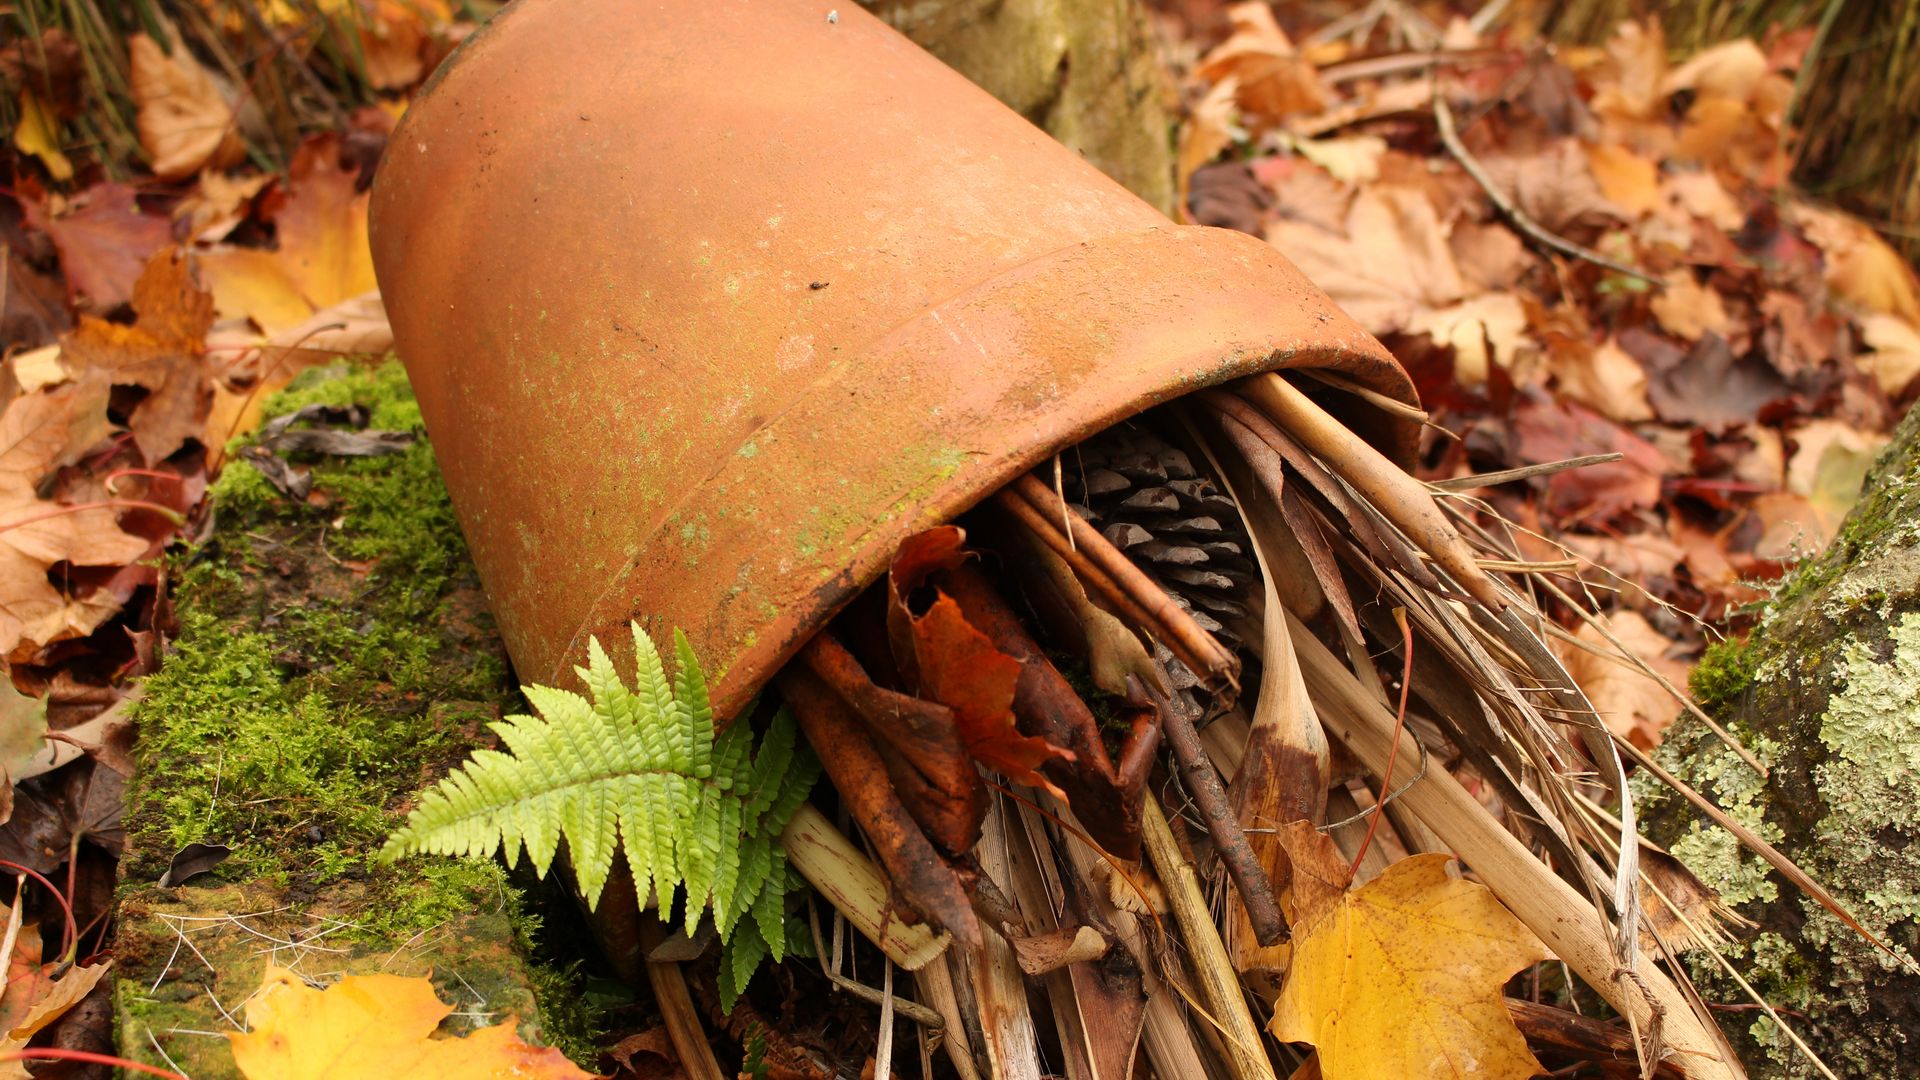
Now it’s time to start stuffing your gatherings into the house. There’s no wrong way to do this, but you do need to pack in plenty as most insects are tiny and will only feel safe in a very small space. Layer up a variety, interspersing chunky with fine.
An optional extra at this stage is to place a piece of wire netting over the front of your house. This prevents birds from....
A: raiding the house for nest materials and
B: eating the residents.
Step 4 Location, Location, Location
With your house now ready to receive tenants, the last step is finding a good site. This needs to be a sheltered spot out of the wind – under a tree or beside a hedge is ideal. As mentioned earlier, placing it up on bricks will also help keep your guests dry and safe through the winter rains until they’re ready to emerge again come next spring.
If you’re feeling particularly creative, you might like to paint a sign to attach to your insect house. Some names to get you started are: Inn for Insects, Space for Spiders or Beds for Beetles. Have fun.
What our other guests had to say
It was great being in a rural setting but also so close to Owaka with shops & a 4 Square supermarket. This was a great base for exploring the Catlins over three days or so. The tiny house was definitely small, but it was also very modern and comfortable.
George, Auckland
Pekapeka tiny house is in a great central location to explore the Catlins region.
Max
Exactly as described ! We liked the ecologic mission underneath as well as the opportunity to spot wildlife ! Perfect for those looking for a quiet spot
Simon, Mirabel, Canada